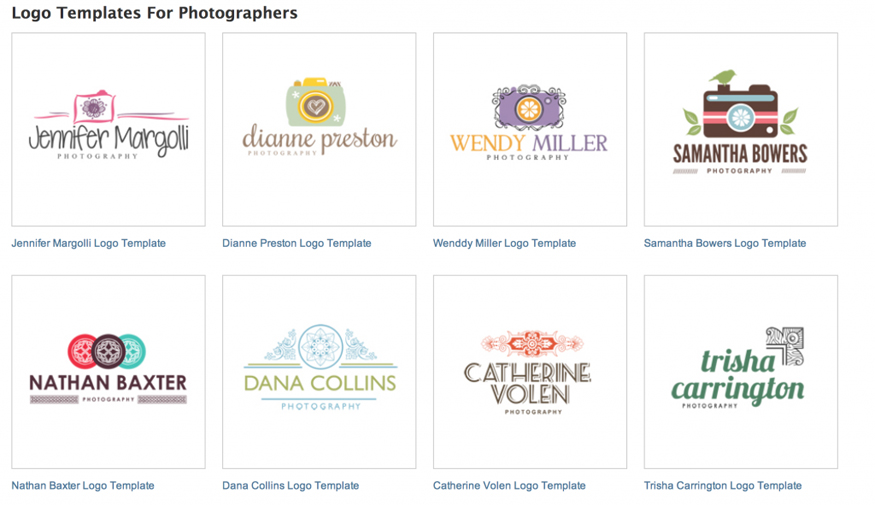
One of my favorite things that Squijoo has is their premade logo templates for photographers. You can essentially create your brand from what they have right there on the site. This is amazing because you are getting an amazing deal here…these logos can go for $15+ a piece on etsy!
I thought I would show you how to take one of these templates and make them completely your own!

First, go to www.squijoo.com and at the top of the page is a menu bar. Click on “browse” and go down to “Marketing Tools”. Once on that page, you should be able to scroll down until you find “logo templates”
Click on that and a page will open up where you can pick from tons of awesomely designed templates.
Once you have chosen the logo you like, click on it on the side will be a link to “Download Now.” Once you do that, a window will pop up for you to log in to Squijoo…once you press “log in” it will start downloading.
From there, go into your Photoshop program and go to File and then “Open”. Click on Downloads on the righthand side and your template should be there as the first thing on the list.
You’re going to want to open the .psd file. In my particular case, it’s the “DiannePreston.psd” file.
You can find the Font file by checking the FontList.txt file for a link or simply do a search online for the font or replace with any existing fonts you already have.
Please be sure to Install the Font before proceeding.
If you have more than one font file to download, repeat the process. If not, you’re done and can go back to Photoshop.
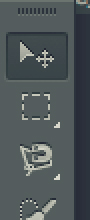
First I am going to edit the business name. To do that, click on the “Horizontal Type Tool” which can be found in your toolbar on the side of your Photoshop Program.
Highlight the text by clicking on the text you want to edit and dragging until the text is highlighted.
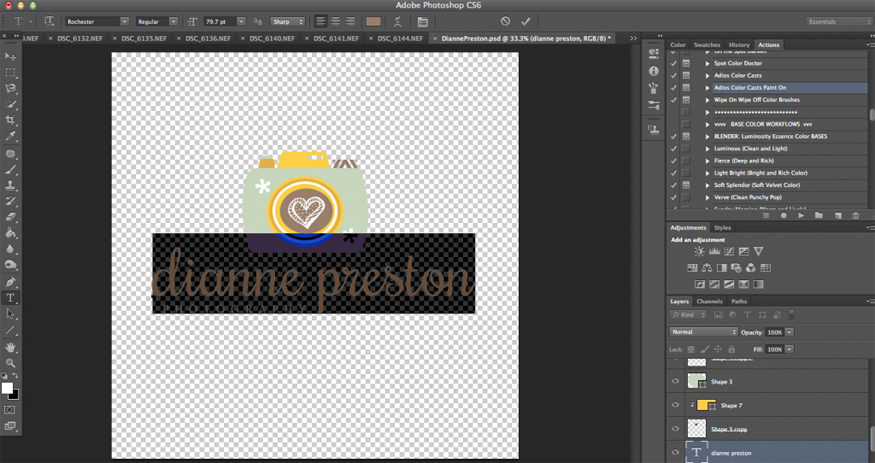
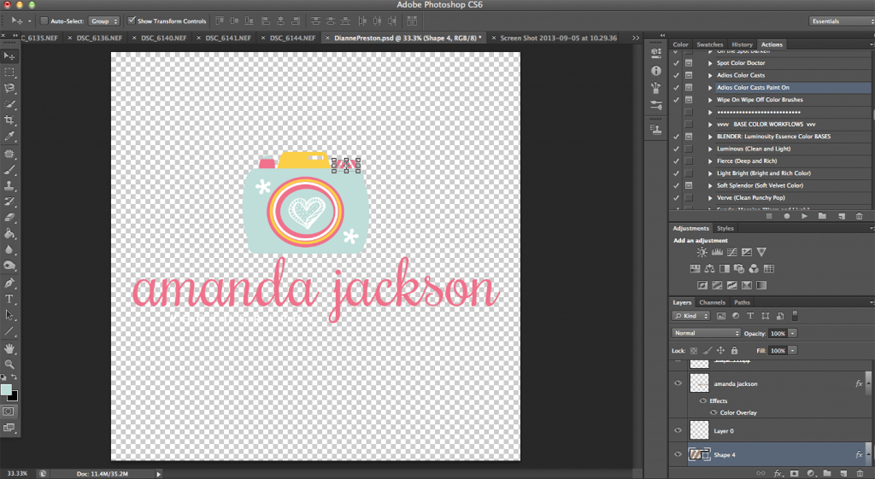
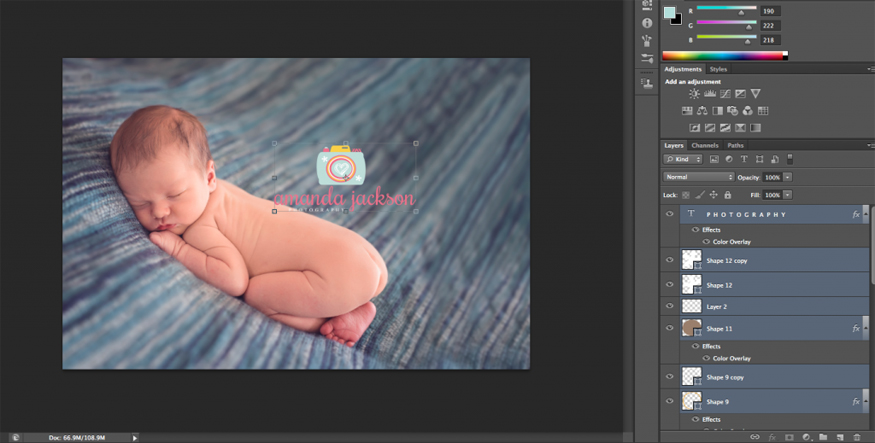
You can now edit what the template says by typing your business name .. in my case “amanda jackson photography”
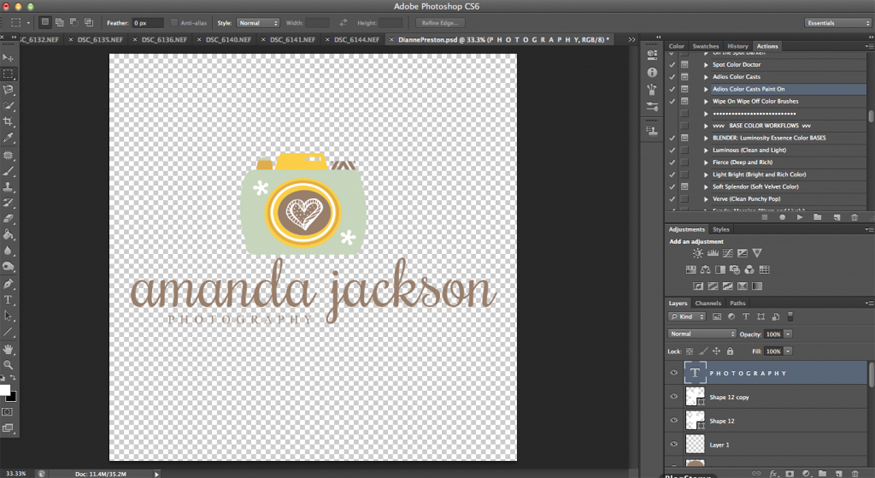
As far as template design goes, you can stop there if you like the colors/design etc. BUT—if you want to make it your own, you can do that too. For me, it doesn’t really match my business colors, so I am going to change that!![]()
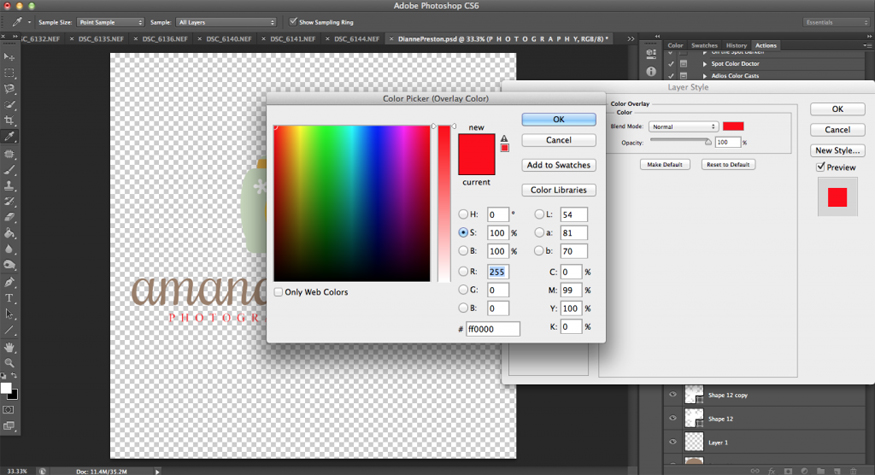
First, I am going to change the color of the text by double clicking on the “P H O T O G R A P H Y” layer and changing that to white by clicking on “color overlay” on the left toolbar that pops up. You can change it to whatever color you wish!![]() Just click on the red rectangle next to “Blend Mode” to select your color.
Just click on the red rectangle next to “Blend Mode” to select your color.
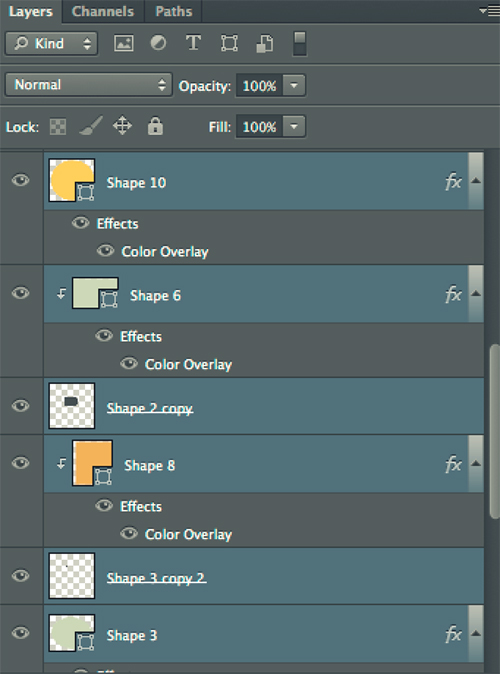
Next, I am going to do the same thing with my “Amanda Jackson” layer…but this time change the color to hot pink.
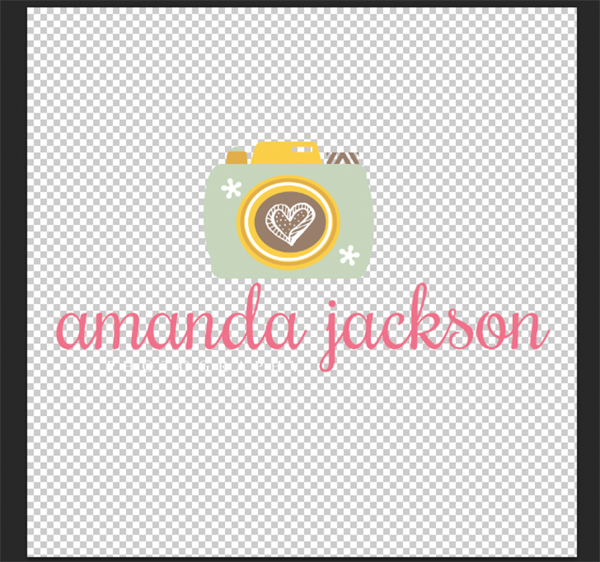
You can do the same steps to all of the layers in this image to make the logo your own by changing the colors. When it’s done, it can look something like this depending on what you want to do with it!![]()
The next part is the FUN part! You can now add your fun new logo to your images. Select all your layers by holding Shift and clicking on each layer until they are all selected.
Click on the “move” tool on your tool bar on the left side, and click and drag it onto the photo that you want your new logo on.
From there you can resize the logo by pressing SHIFT and dragging the edge of it, and you can place it wherever you want on the photo.
Voila! all done! Super easy and a fun way to create your own logo/watermark!

There used to be video’s showing how to use some of these products on your site. I can no longer find any video’s on the site, I could use the video’s, reading all the articles is not as easy to apply.